I have been seeing this style of peplum top for a while and even tried it out for the first in 2015 using woven Fabric. I also made similar styles using different weights of Neoprene fabrics. I have copied pictures from google to Pinterest to show the variations of the style. My tutorial below is not precisely based on any of the copied pictures, however, the same concept can be applied.
The way the flounce hangs and drapes is mostly dependent on the type and weight of the fabric. Neoprene seems to be the popular choice especially since a fabric without a distinct wrong or right side (such as Neoprene) is best for the style. When I used woven fabric, the fabric had a distinct wrong side so I self-lined the flounce as the fabric was quite lightweight.
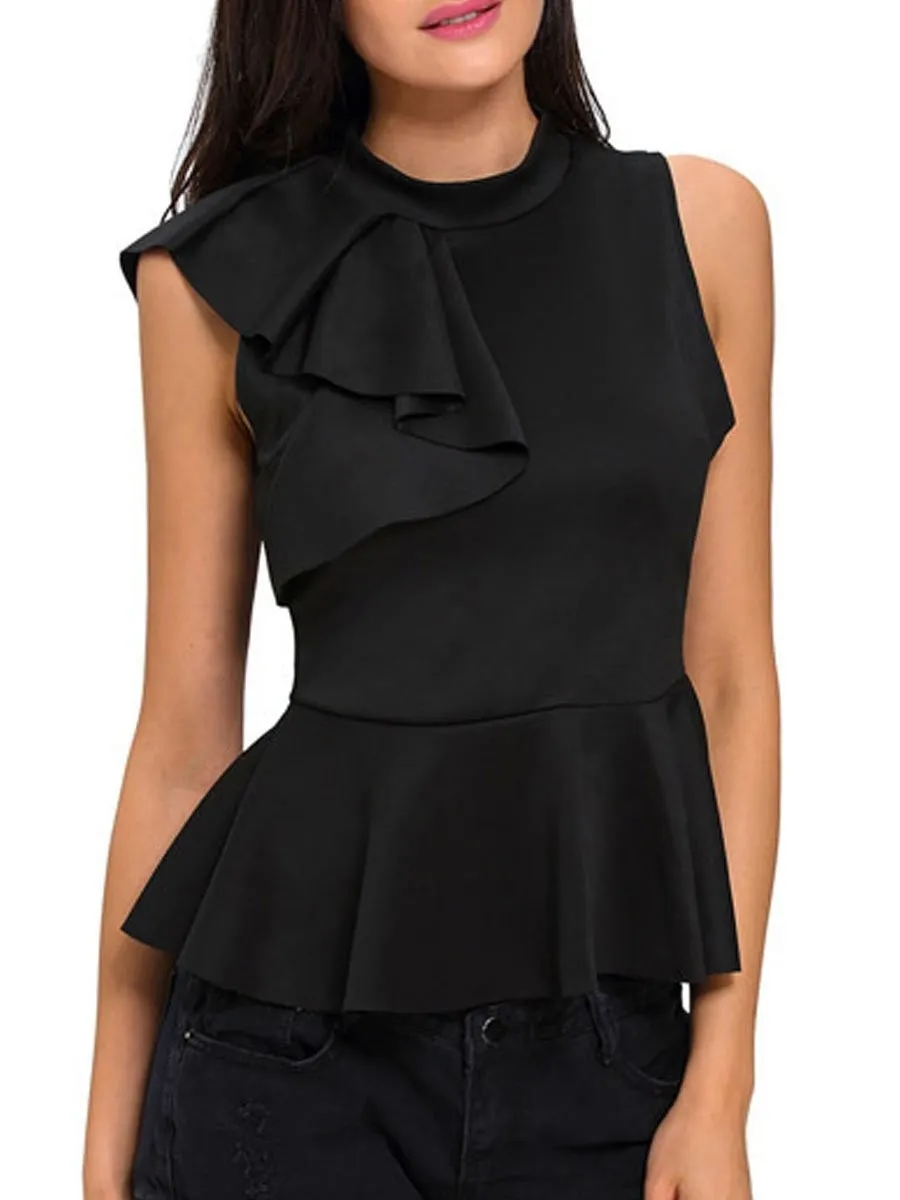
The focus of this tutorial is on the upper part so you can add a peplum or whatever to it if you wish. Also, I will be drafting the neck with a neckband and not a collar. I have seen both variations. For example, the model in black top and blue jeans above has a collar on hers while the black top on black pants has a collar hers. The tutorial images are pretty self-explanatory but I will be adding some explanations below each.

Starting with a bodice block. The block I used is designed for woven, it is fitted, designed to have sleeves, and has wearing ease of 3" and 2" at bust and waist respectively. If you do not have bodice blocks you can buy yours from my Etsy store. the block also comes with sleeves.
STEP 1
1.Make necessary reductions to make the block suitable for a sleeveless armhole and for knit (neoprene) fabric if that is the fabric you intend to use. Here, I have reduced the bust circumference, reduced the armhole by raising it slightly and I reduced the waist circumference since. My bodice now has ease of 1.5" at bust and 1" at the waist (you can make zero at the waist).
2. I also connected the waist dart to the shoulder dart at Apex (marked "X") so that I can transfer the shoulder dart to the waist.
STEP 2
1. Trace a 1.25" wide band on both back and front as shown. The front neckline is lowered by 1/2 to 3/4" before tracing out the neckband.
2. Mark a notch/balance mark about on the front neckline at least 1" from the centre-front. This notch, apart from helping to match the neckband to the front also marks the point where the flounce turns over.
3. You should also mark a notch/balance mark at the back neckline.
STEP 3
1. Place the front pattern to the front at the shoulder as shown.
2. Combine the front neckband to the back neckband to make 1 pattern piece. Add a notch to the neckband at the point it connects to the shoulder seam
Now we have the front, back and neckband pieces, we work next on the flounce using the front and back bodice pieces still placed together at the shoulder.
Note: At this stage, ensure the neckline and armhole blend and transition smoothly from front to back. No pointy corners or uneven shoulder length, smooth curves only.
STEP 4
1. Trace out the brown part as shown with the redline passing through the front neck notch marked in Step 2. No specific measurements just ensure that the brown shape doesn't get to the waist.
3. Flip/mirror/reflect the brown shape using the red line as the axis.
STEP 5
1. Draw in your flounce basic shape as you like it. I will be using the red shape while the green shape is another possibility.
Note: The red shape stops before the center-back and is longer at the shoulder (about 5" beyond shoulder point) while the green shape is shorter at the shoulder, longer at the back, and is sewn into the centre-back seam. Do as you please. I just rather mine stopped before the zipper to reduce the bulk there. Most of the copied pictures at the beginning of this post are shaped more similarly to the green shape.
2. Next, Draw slash lines through the flounce basic shape as denoted with red lines. The first two lines after the axis (mirror line) are placed about 1" apart at the neckline; a line goes through the shoulder seam, 2 lines at the back, and 1 line through the armhole.
3. Cut through the slash line from the flounce outer edge and stop just before the neckline leaving a short distance of about 1/8" or less for pivoting. The first two lines that are about 1" apart will be cut through. See Step 6 illustration.
STEP 6
1. You may label the sections with numbers as shown above. Spread the pattern as wide as you want considering fabric usage.
3. The two pleats will be placed in between the completely severed sections as shown. I spread 2" at the neck to about 9-10" at the outer edge.
3. The other sections were spread by less than 2" each.
Note: I did not place pleats at the back, you can do this if you wish to; just ensure that the inner edge (neckline) doesn't become too closed-up to add sewing allowance.
4. Remember to transfer all balance marks/notches.
5. True all darts and pleats by folding them in the direction you want them to stay and by using a tracing wheel (or scissors) to get the correct shape of the pleats at the neckline. The flounce pleats are folded towards the centre-front.
6. Add your preferred seam allowances. I will suggest that you should use not more than 3/8" (1cm) on all curved edges.
There you have it! I have this pattern drafted in a SewExplicit size 16 (bust 44" and waist 36") and I am thinking of offering it as a free pattern but in size 16 only. Is that something anyone will want? let me know in the comments. Maybe I will go ahead and grade it but it is not going to be an easy grade. Below is a possible "grade map" but I am not sure if it will work out well.

My
posts on pattern grading have been one of the most popular posts on this blog and it leads me to think that people are interested in knowing how to grade beyond the basic blocks, the issue is that such classes rarely exist and I can understand why. Grading is not an exact science (neither is patternmaking). Often, patterns metamorphose so much from the basic blocks when drafting them that grading can become nightmarish. So understanding the basic concept and plenty of practice is the key. Grading digitally also helps as you can quickly see what may be wrong and how you may correct it. Sometimes when the headache of trying to figure how to grade a pattern is too much, I just redraft by first grading the working patterns (before the stage when the pattern wickedly transforms), then re-doing the last steps of the pattern transformation in the new size.
Notes on sewing
Join the flounce to the front bodice at the side seam, armhole, and shoulder with the right side of the fabric of the flounce facing the right side of the fabric of the bodice. Then flip the flounce on the mirror line (axis) to pleat and join to the neck.
That will be all in this post! Cheers ! and maybe leave a comment and share this post.


Is there going to be joining at the center front? I got confused at the flounce stage
ReplyDeleteHi Rehanah,. No, there won't be a joining but part of the bodice was traced and flipped/mirrored during pattern drafting to create the flounce.
DeleteThis is a gorgeous design! If you’re taking a poll for interest in the pattern, consider my hand raised!
ReplyDeleteNoted, thank you.
ReplyDelete